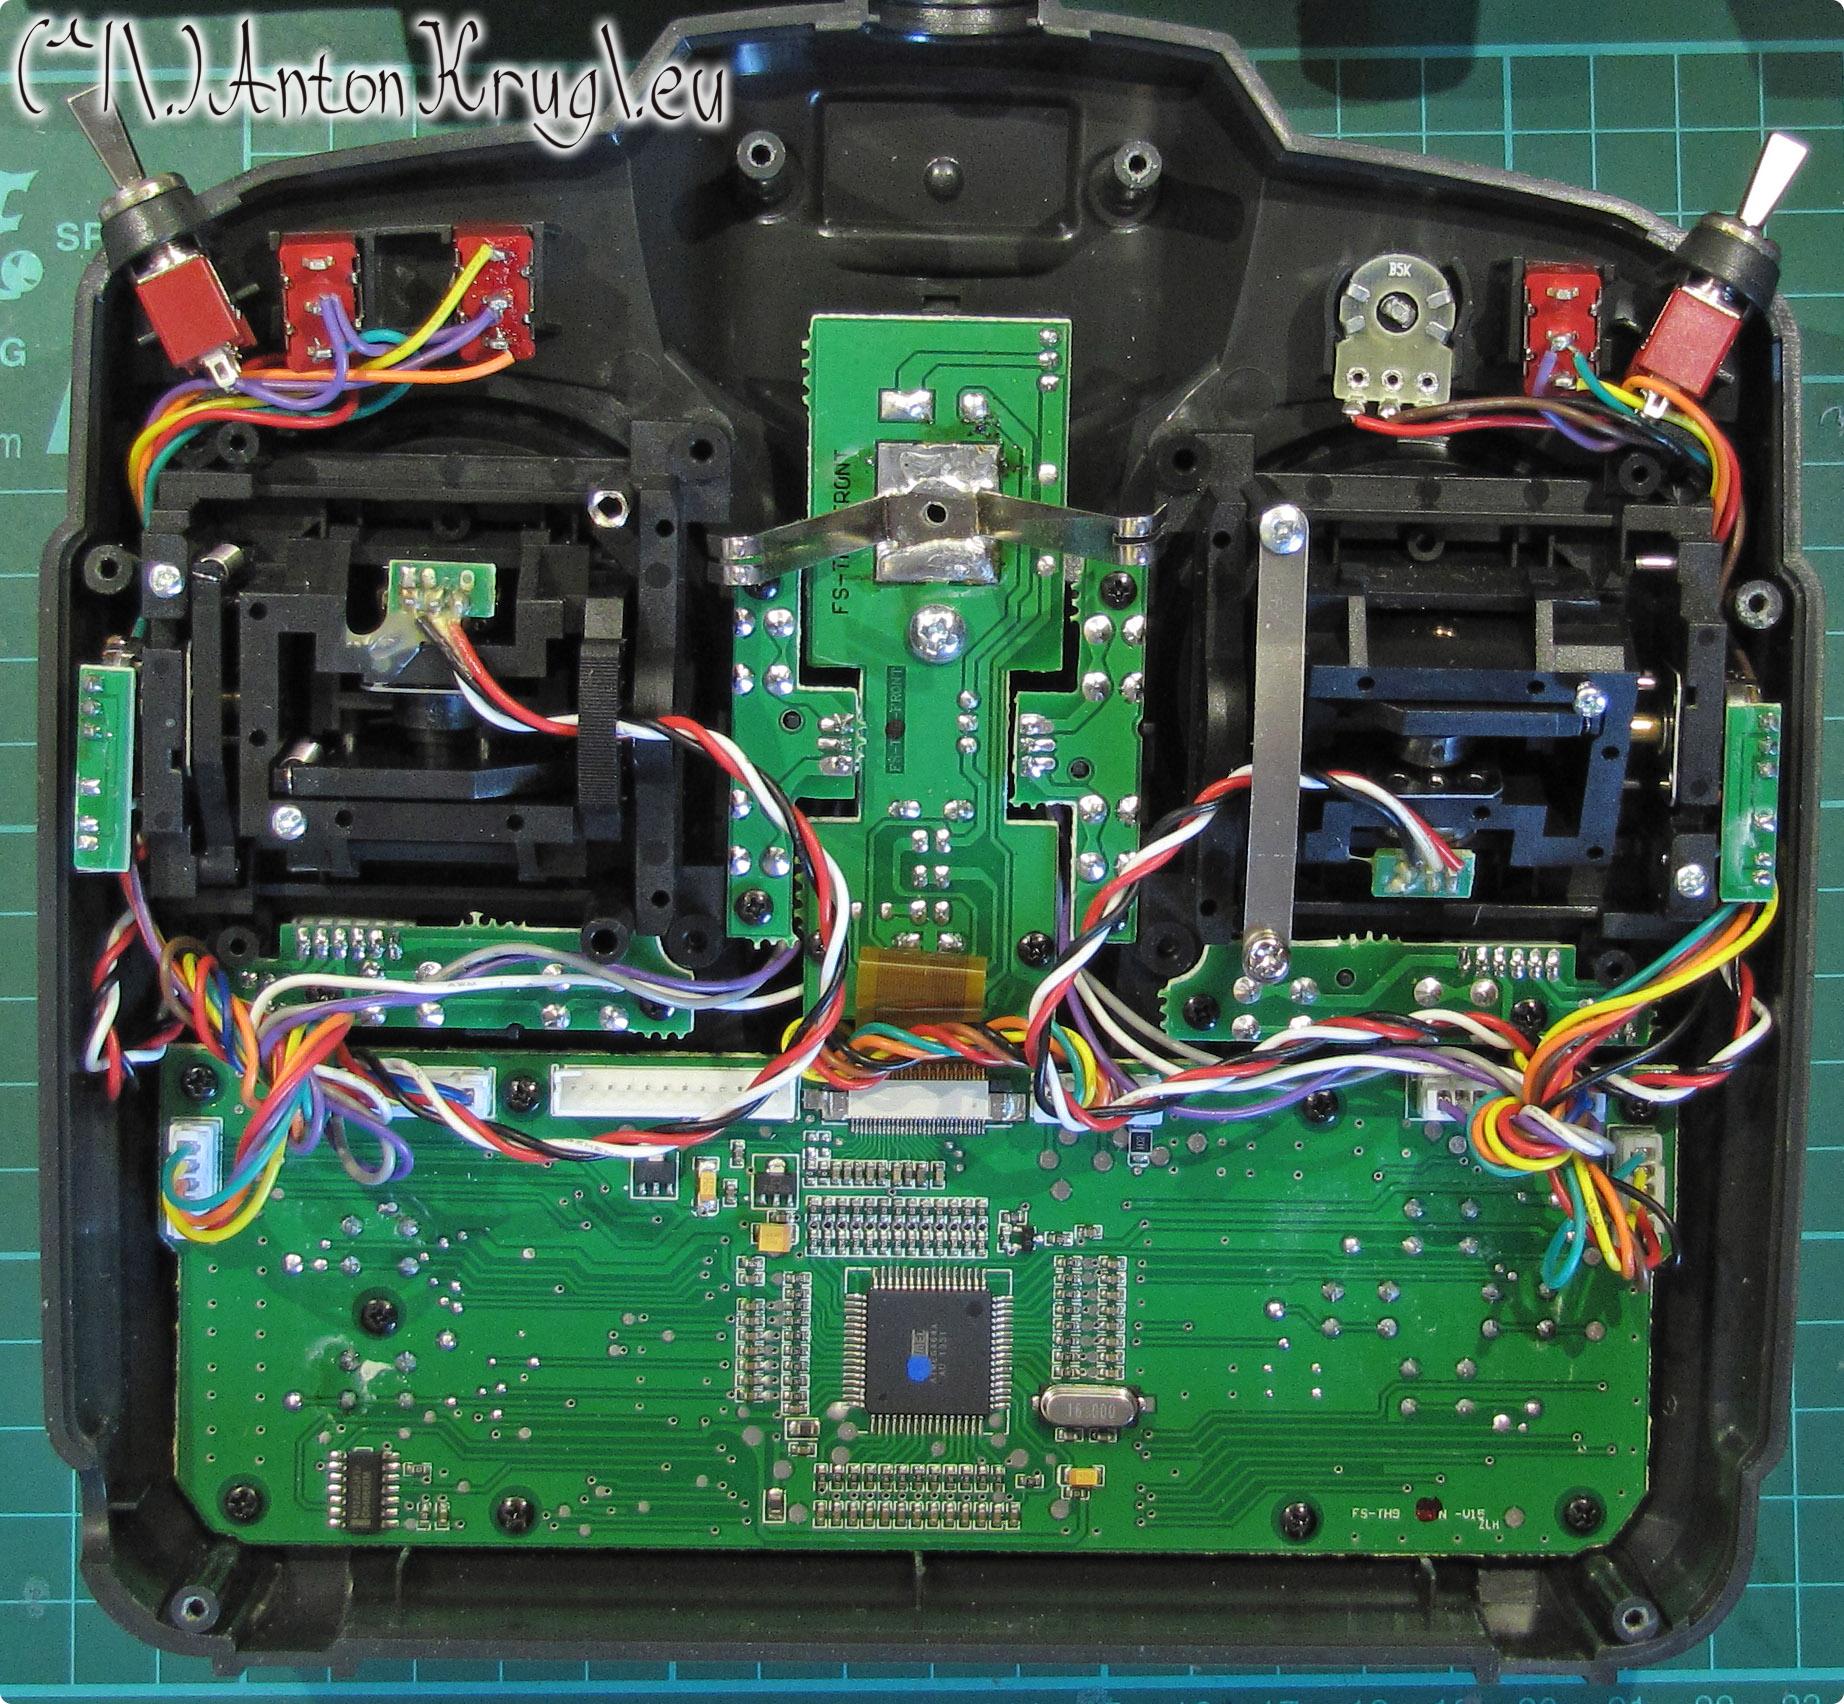
I was unhappy with limited options of my transmitter so I decided to re-flash it, for that I needed to "tap" ISP header to the pins of the MCU. So I opened the transmitter:

Then I used dremel to make hole for fit pin header, I wanted to use 2x5 but had only bigger variants available. I could use pin headers without the socket shell, but I would be worried that after years I would forget which way to connect the ISP cable, so there goes 2x8 for better reason :-)

Probed the MCU pins with the PCB to find good test points or spots to solder mi ISP header:

Very easily available points were found so no precision soldering is required:

Presoldered the ribbon cable and gave it bit extra of flux (don't want to mess up the solder points on the PCB):

After soldering all of them, I hotglued most of the wires to make sure they will not get undone due to vibration or other abuse over the years:

Soldered the pin header with heat-shrink tubes for each connection:

The ISP pinout is as following (decide if you want 3x2 or 5x2 pin headers).

Epoxy glued everything to make it moisture and vibration/abuse proof:

After everything is done I used standard variant if Er9X firmware and I'm very happy with it, it can do SOOO much more and I can happily use the transmitter with different projects/profiles/robots. Used it in the past for few drones, crawler robots and testing lampbot as well. Even on the photos the glue doesn't look good, but I have to say it works very well. After 4 years of use didn't get a single problem with the connector, I'm going through a huge backlog of blog ideas so this mod is already matured/proven at the time of writing this blog entry.
